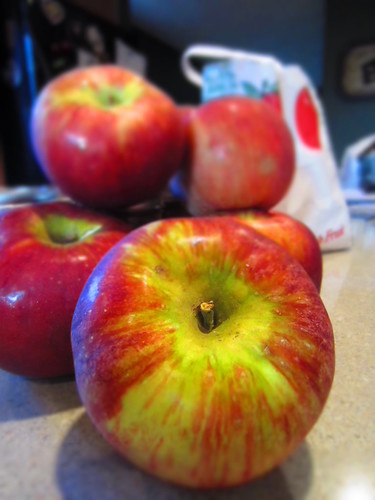
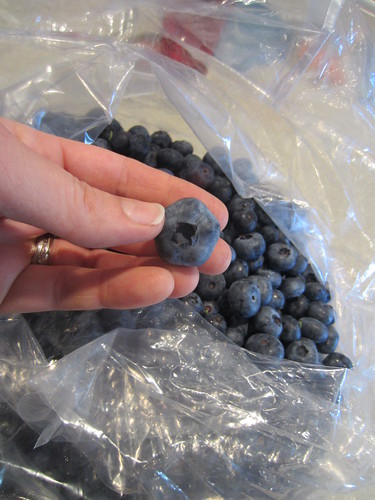
On Sunday the heat wave finally broke, and I got to venture outside without melting. I got up early and drove up to Cider Hill Farm in Amesbury, and was in the blueberry field before the dew dried off the grass. The picking was excellent, and some of the berries were massive, check out the picture above. In an hour, I had picked almost 10 pounds of blueberries, and it was jamming time.
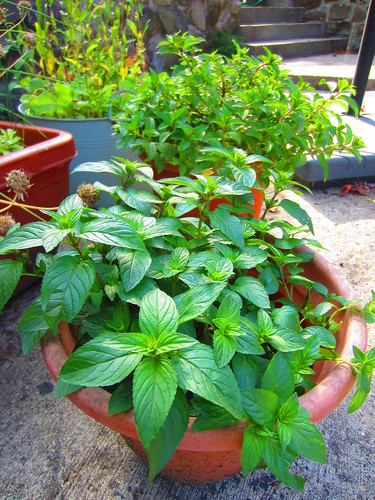
While I did not enjoy the 90+ degree weather last week, my mint plants sure did. The chocolate mint in the front has been in that pot three summers now, and this is the first time it has been this happy. The peppermint in the back was a single 3 inch potted plant a few weeks ago, and now it is spilling out of a 12 inch pot. Time to start cooking with more mint, so why not put some in my blueberry jam? I plucked a few generous sprigs of the chocolate mint for this recipe.
8 cups washed and mashed blueberries
1/2 cup lemon juice
4 teaspoons calcium water (prepared from calcium powder included with Pomona's pectin)
4 teaspoons Pomona's pectin
1/2 cup agave nectar
2 teaspoons stevia extract
3 sprigs of chocolate mint (or mint variety of your choice), about 6" long each
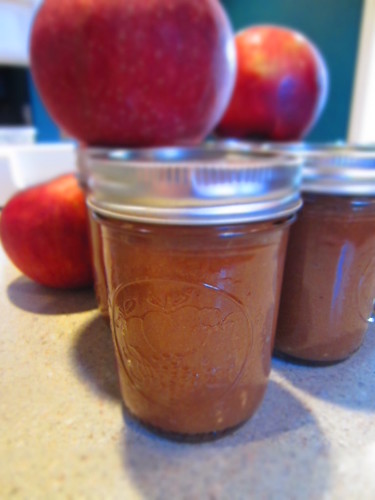
Makes about 8 cups (fills 8 half pint or 4 pint jars)
Mix together mashed blueberries, lemon juice, and calcium water in a large, heavy bottom pot. Bring to a boil, stirring frequently. Meanwhile, mix together agave and pectin powder in a small bowl. When the blueberry mixture is at a boil, add agave mixture and stir well. Bring back to a boil. Remove from heat. Use a small metal spoon to skim foam from the surface of the jam. Discard foam. Add stevia extract and stir well.
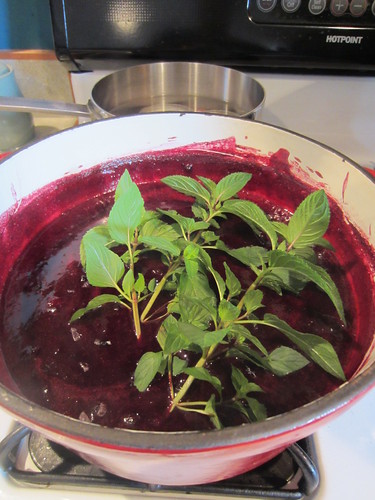
Drop whole mint sprigs into the jam, stir, and allow to steep for about 5 minutes. Remove and discard the mint sprigs. Ladle jam into sterilized jars, add caps and rings, and process in a boiling water canner for 10 minutes. Remove from canner, allow to cool. Once cooled completely, check the seals, clean off any residue from the canner, label, and store in cool, dark place.