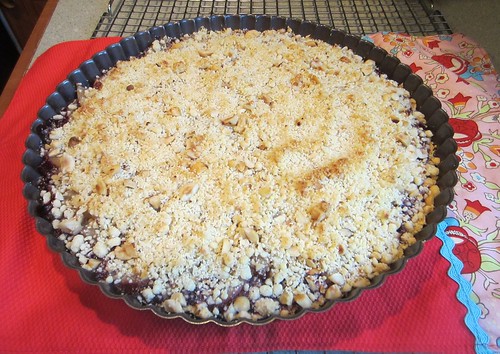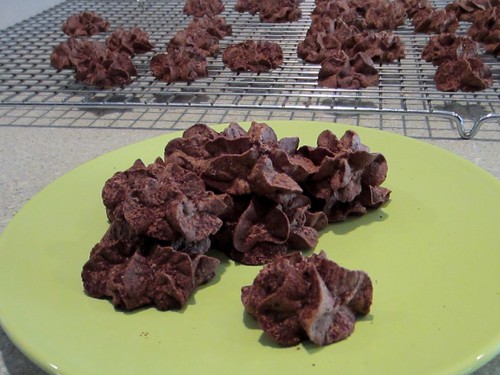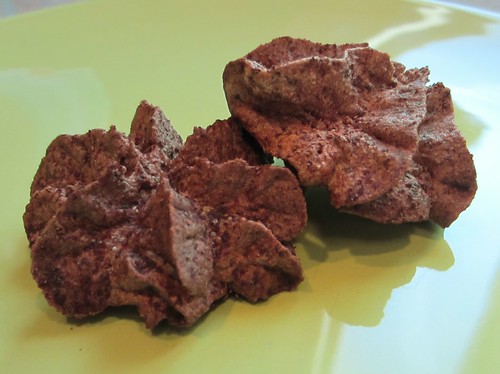
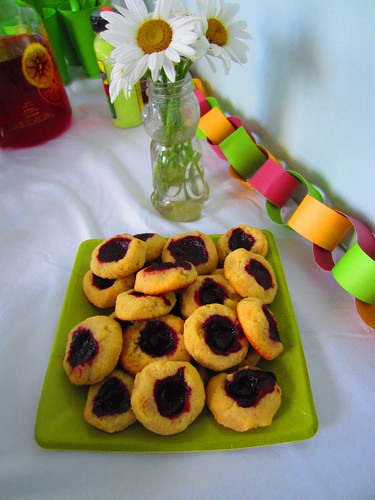
Black Raspberry Thumbprint Cookies
low carb, sugar free, gluten free
2 1/2 cups almond flour
1/4 teaspoon salt
1/2 cup butter, softened
1 tablespoon agave nectar
1/4 cup Swerve granulated erythritol
1 egg or 1/4 cup egg substitute
1 teaspoon vanilla extract
3 tablespoons sugar free black raspberry jam (recipe follows)
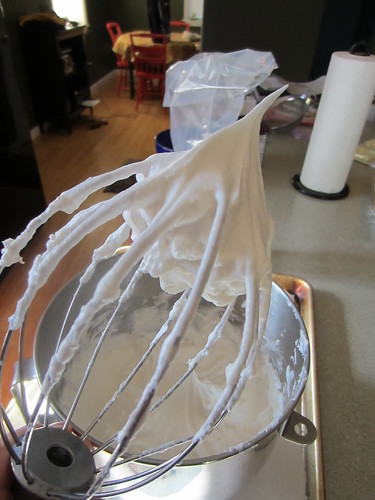
In the bowl of an electric mixer, cream butter with Swerve. Add agave, egg, and vanilla extract and mix until combined. Add almond flour and salt, mix just until combined. Put bowl in refrigerator for 1 hour or until dough is easy to handle.
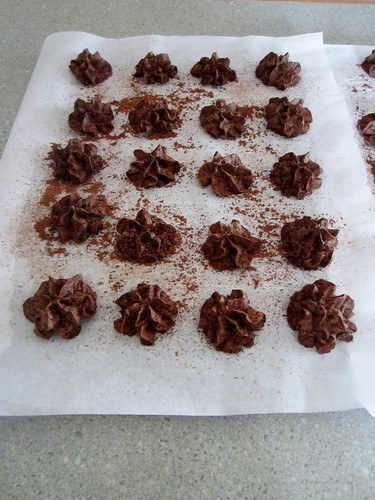
Preheat oven to 350F. Line baking sheets with parchment paper. Scoop about 1 tablespoon of dough and roll into a ball with your hands. Place balls of dough on cookie sheet about 2 inches apart. Use your thumb to make an indentation in the dough. Fill indentations with about 1/4 teaspoon jam. Bake 12-16 minutes or until golden brown and set. Remove from oven and cool on baking sheet for 5 minutes, then remove to a wire rack to cool completely. Cookies will firm up as they cool.
Makes about 28 cookies.
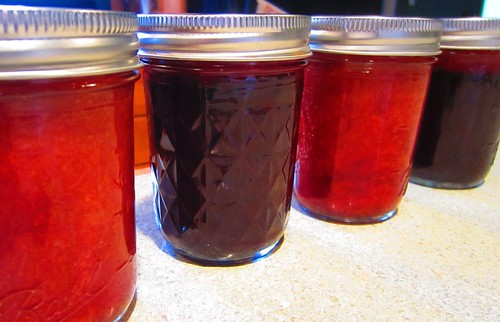
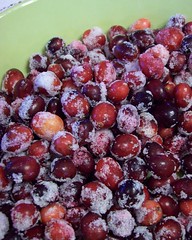
Black raspberry jam
sugar free, gluten free
3 pints black raspberries (or red raspberries for regular raspberry jam), picked over and rinsed
1/2 cup agave nectar
1/2 teaspoon liquid stevia extract
2 teaspoons Pomona's pectin powder
2 teaspoons calcium water (calcium powder included in Pomona's pectin package, follow package directions to make calcium water)
In a large (4 cup) glass measure or other flat bottomed bowl, crush the berries with a potato masher.
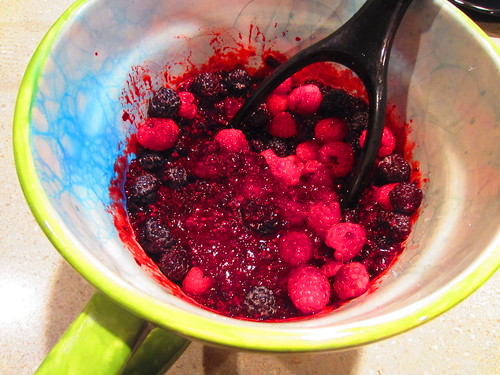
Force about 1/2 of the crushed berries through fine sieve to remove the seeds. You may also strain all of the crushed berries through the sieve for seedless jam, but it will result in less finished jam. In a small glass measuring cup or small bowl, combine agave, stevia, and pectin powder and stir thoroughly. Set aside. Pour crushed berries into a 8 quart saucepan. Add calcium water and stir thoroughly. Heat over medium high heat, stirring constantly, until the berry mixture comes to a full boil. Add agave mixture to berry mixture, and bring back to a full boil. Remove from heat.
Ladle into prepared, sterilized half pint jars and process in a water bath for 10 minutes to make jam shelf stable for up to 1 year until opening. For more information on water bath canning, visit the USDA's complete guide to home canning If you do not want to water bath process your jam, you can keep it in the refrigerator and treat it as a perishable.
Makes 4 half pints (or 2 half pints of seedless jam)